

DIY Knee-Wall Shelf Build


I’m going to walk you through a (hopefully) very simple tutorial to build these roll-out knee-wall shelves that we built in our attic master suite.These serve as shelving in our space but they’re also removable so that we didn’t lose access behind our knee walls! We needed to maintain access to our first floor bathroom fan as well as the shut off valves for our bath tub. Not to mention, there’s tons of storage that we didn’t want to lose out on.
Design Sketch

This conceptual sketch served as our base plan. We used it to determine rough cut lengths, angles, and build our materials list.
Materials Shopping List


Shop the materials here:
Four 5-3/8” x 8 ‘ pre-primed Shiplap boards
1 pack of 1-1/4” cabinet screws
We used these caster wheels on the bottom of the shelves.This made it easier to pull the shelves in and out to access the knee wall space.
We used KILZ primer to prime the shelves!
*All lumber should be grade A or B except for the 1x2 (that can be common grade).
Tools We Used
Circular Saw
Miter Saw
Tape Measure
Make The Cuts

Start by cutting 1x10’s for the side and bottom boards to length and angle. We used our circular saw and speed square for the 1x10 cuts. If your miter saw can accommodate cuts this wide use it for better repeatability. After the cuts, dry fit the pieces together. Use your square and clamps to hold the pieces in places and take your final measurements for the middle shelves and shiplap backing and cap. Cut the 1x10s for the middle shelves using the circular saw/speed square combo again, and cut the shiplap using the miter saw.
For the top end of the shiplap cuts, set the miter saw bevel to match the pitch of your roof (ours was approximately 30˚) and cut to the final length. Our desired final width allowed us to install the shiplap without needing to make any rip cuts on the width of the shiplap. If your width does not work out this way, lay out the shiplap and determine the width you need for the rip cut. Divide this number by 2 and rip the left and right side shiplap pieces to that width. This will help keep the backing symmetrical rather than having all full width pieces with one narrow one.

Paint and Prime with these for a smooth finish.
Now that all the cuts have been made it’s time to prime and paint the wood. Painting prior to assembly vastly improves coverage and helps controls drips and runs that occur more often when you paint after final assembly. Just keep in mind that since the wood has its finish coat on before it is put together, you’ll need to handle with some extra care as you piece it together. Let the paint dry for at least 12 hours to ensure it is cured well and decrease your chances of scuffing it.
Begin To Build
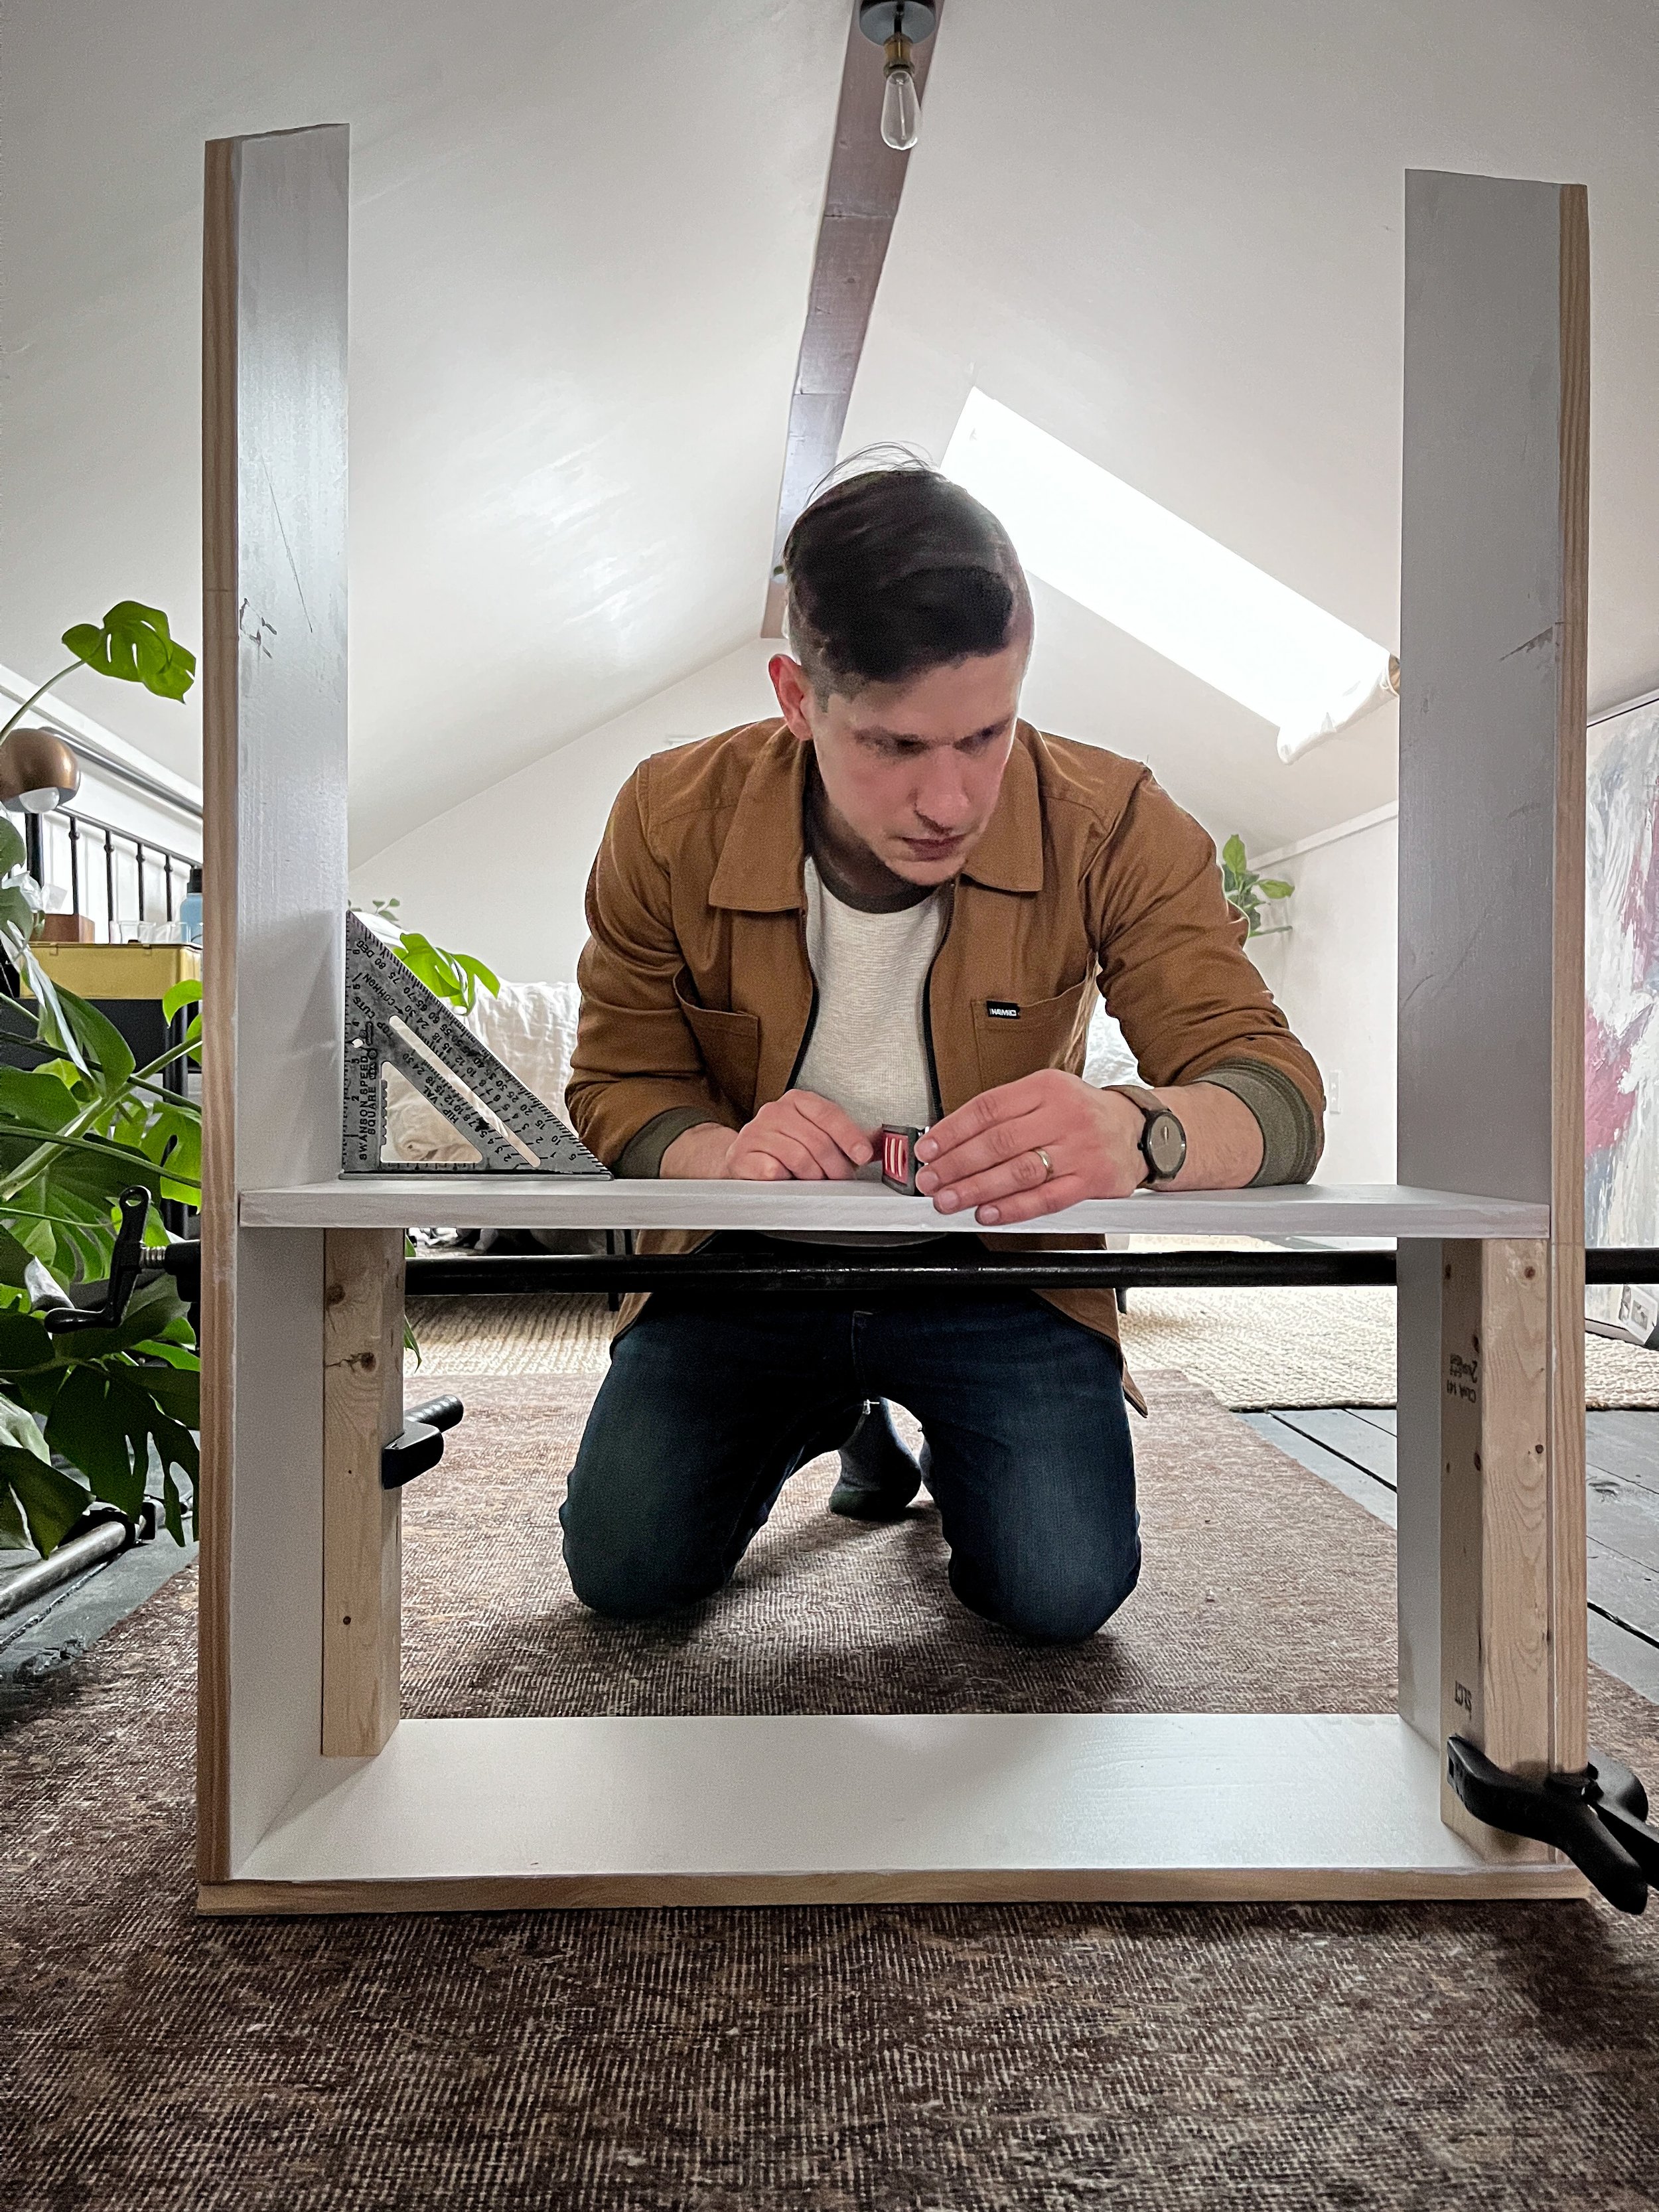
After the paint has set up, you can begin the final build. Start with the sides and bottom that you mocked up first. Use the square and clamps again to ensure nice right angles between the base and the sides. Pre-drill thru the base and into the side board. Then sink in 3 cabinet screws per side. Next, the middle shelves are added using the same square/clamp process. This time though, pre-drill and sink the screws through the side board and into the edge of the shelves. In order to help keep the spacing between shelves consistent, we used some scrap wood cut to lengths equal to our desired shelf spacing and used those boards as spacers between the base shelf and the middle shelf. We then repeated the process from the middle to the top shelf. For our design we chose a 14-inch spacing between the bottom, middle, and top shelves.
Add Shiplap Backing

Now that the shelves are square and secure, the shiplap backing and top cap can be added. Start by dry fitting the left and right end shiplap boards to the 1x10 side boards. Place a 1x2 furring strip across the back of the shiplap matching the middle of the furring strip as close as possible to the middle of each shelf. Place an L-bracket on the ends of each furring strip and attach it to the strip and 1x10 side boards using the screws that came with it. Next, fill in the remaining pieces of shiplap and place at least two screws through the furring strips and into each piece of shiplap.
The top cap gets installed similar to the shiplap backing. For this part though, the top furring strip will need ripped on the table saw at 60˚ (or whatever 90˚ minus your roof pitch is). This strip will get installed flush with the face of the shelves and will serve as a nailing strip for the top trim as well as securing the tops of the shiplap caps.
Finish by adding the 2” casters to the base. We chose swivel casters to make it easier to navigate the shelf once it is out of the wall but fixed wheels would also work. Similar to the top, a bottom trim nailer needs added that is flush to the face of the bottom shelf. Use the rest of the furring strip or some scrap wood (1-by or 2-by will work) and cut a length that fits between the casters while still allowing them to fully rotate. Secure the nailer to the bottom shelf using screws and get ready to add the finish trim.
Add Trim

It’s best to start the trim at the base of the shelf. You’ll want to have your shelf pushed back inside the knee-wall hole for this part. Start by using a long 2’ or 4’ level and laying it along your existing trim. Mark a line on the side board that is level with the top of the existing trim. Measure the width between your existing trim and cut the 1x4 to that length. If you’re building this in conjunction with installing the rest of your baseboard, then you’ll want to add 1-3/4” onto each side of the shelf width so that the 1x3 side trim boards rest evenly on top of the baseboard. After cutting the baseboard measure again for the top using the same approach. In addition to cutting this piece to length, you’ll also need to rip the top of the board at an angle equal to the roof pitch.
Dry fit the base and top boards and measure the distance between them for the side trim. Cut everything to length, prime/paint and let it dry. Finish the job by nailing each trim board in place with a brad nailer. Push the shelf back into place, style, and enjoy!
The Finished Product

I hope you found this DIY tutorial helpful! Let us know if you have any questions it the comments!